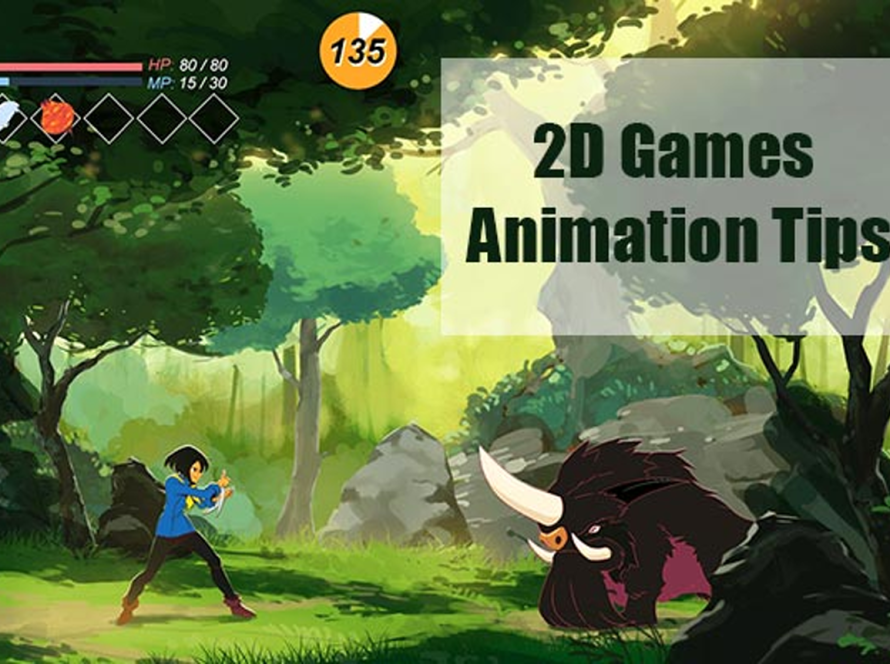
In the colorful world of 2D gaming, breathing life into characters comes not only from intricate lines and smooth movements, but also from every gesture, action, and especially dialogue. Thus, Lip sync plays a crucial role in creating vibrancy and authenticity for 2D characters, captivating players and immersing them in the story. Let’s explore the art of Lip sync: animating characters with dialogue with 2swordsgames right here.
What is Lip Sync?
Lip sync is the artistic technique of synchronizing a character’s lip movements with the dialogue in a 2D game. The purpose is to create a sense of realism and liveliness for players when interacting with characters in the 2D game.
Lip sync is not just about matching images with sound, but also about infusing soul into the art of character design in 2D games.
Enhancing emotional connection: When dialogue is perfectly synchronized with a character’s lip movements, 2D game players will feel a greater sense of authenticity and closeness, making it easier for them to empathize and connect with the character.
Efficient information transmission: Lip sync helps convey information more clearly and understandably, especially in long dialogues or highly expressive lines.
Increasing entertainment value: Lip sync contributes to creating humorous, interesting moments, or even touching scenes, attracting players and making them more engaged with the game.
How to add lip sync in Adobe Character Animator?
In Adobe Character Animator, creating lip sync involves a few steps to synchronize the movements of a character’s mouth with spoken dialogue. Here’s a basic guide on how to do it:
Import your character
Import your character into Adobe Character Animator. Ensure the character is properly rigged with the necessary components, including a mouth that can open and close.
Record or import audio
Record the dialogue or import an audio file containing the dialogue intended for lip-syncing.
Enable lip sync
Navigate to the Timeline panel, select the track containing the audio, and activate lip sync for that track by clicking the “Lip Sync” button in the toolbar.
Calibrate lip sync
In the “Rig” panel, access the “Lip Sync” tab and initiate calibration by clicking the “Calibrate” button. Follow the on-screen instructions to synchronize your character’s mouth movements with the audio, involving various facial expressions to train Character Animator on different phonemes.
Fine-tune lip sync
After calibration, refine the lip sync performance by adjusting parameters like sensitivity and smoothing in the Lip Sync settings.
Playback and adjust
Review the scene playback to assess the lip sync accuracy and make necessary adjustments. This may involve tweaking keyframe timing or manually adjusting specific phonemes.
Add expressions and gestures
Enhance the character’s performance by incorporating facial expressions, head movements, and gestures to augment the animation’s dynamism and engagement.
Test and iterate
Test the character’s lip sync and overall performance across different scenes and scenarios. Iterate on the animation, making iterative adjustments as required to achieve the desired outcome.
By following these steps, convincing lip sync animations can be created for characters using Adobe Character Animator. Practice and experimentation will contribute to mastering the technique and refining animations over time.
Tips for creating effective lip sync in 2D game art
Here are some professional tips to help you achieve top-notch lip sync:
- Master phonetics: Delve deep into phonetics to grasp how mouth movements correspond to speech sounds. By mastering these nuances, we can accurately synchronize mouth animations with dialogue.
- Utilize real-life references: Watch real-life videos of people speaking and observe their mouth movements. This reference material is invaluable for honing our lip sync skills and creating authentic character animations.
- Adapt to character traits: Tailor lip sync animations to suit the character’s personality, accent, and emotions. Adapting the lip movements to fit the character’s traits ensures that you create animations that feel authentic and immersive.
- Start with key poses: Begin by defining the key poses for each phoneme in the dialogue. These key poses serve as the foundation for the animation and guide you in creating smooth and accurate lip sync.
- Ensure smooth transitions: Focus on creating seamless transitions between mouth shapes to avoid jarring animations. Smooth transitions enhance the overall fluidity of the animation and contribute to a polished end result.
- Maintain timing consistency: Pay close attention to the timing of mouth movements and ensure they align with the dialogue. Consistent timing is crucial for creating a synchronized and believable lip sync.
- Consider secondary movements: Incorporate subtle movements in other facial features, such as the cheeks and jaw, to add depth and realism to the animation. These secondary movements enhance the overall expressiveness of the character.
- Iterate and refine: Continuously review and refine your lip sync animations to achieve the desired level of quality. Iterating on the animation allows you to identify areas for improvement and make necessary adjustments.
- Leverage Lip Sync tools: Take advantage of lip sync tools and plugins available in animation software to streamline the process and achieve precise results. These tools can significantly enhance your efficiency and accuracy in lip sync animation.
- Practice diligently: Mastery of lip sync in 2D game art requires dedicated practice and experimentation. Commit to continuous improvement, and you skills will steadily grow over time.
By incorporating these professional tips into your workflow, you can elevate your lip sync animations to new heights, creating immersive and captivating experiences for players in 2D games.
In Conclusion
Now that we’ve covered the fundamental aspects of Lip Sync and how to implement this technique in your 2D artwork, it’s time to put theory into practice to enhance your skills. Best of luck!


1 Comment
Anonymous
That’s a fascinating point about game analytics! transparency is a huge step forward for Filipino players. Makes the experience much more engaging, beyond just luck! 🤔